Friday, May 31, 2013

Sister Stamps Release #14 - Simona

It's the third and final day of Sister Stamps Release #14 and say hello to Simona! She is full of life and bursting with joy! 

I saw a project at our local Ben Franklin store made out of these boxes so I bought a couple and made them into hair accessory boxes for my twin nieces.  You buy these plain white and can decorate them however you want.  I painted them with a Martha Stewart acrylic paint (color Easter Egg). Then I adhered the ribbon to the front and back (12" each) using strong double stick tape. I adhered DP (Pebbles) on the front and back of the box with DecouPage glue and covered the edges of the ribbon. I gave the outside of the entire box a nice coat of DecouPage glue.  After it dried, I adhered the names with Tombow glue and the mermaids with pop dots.
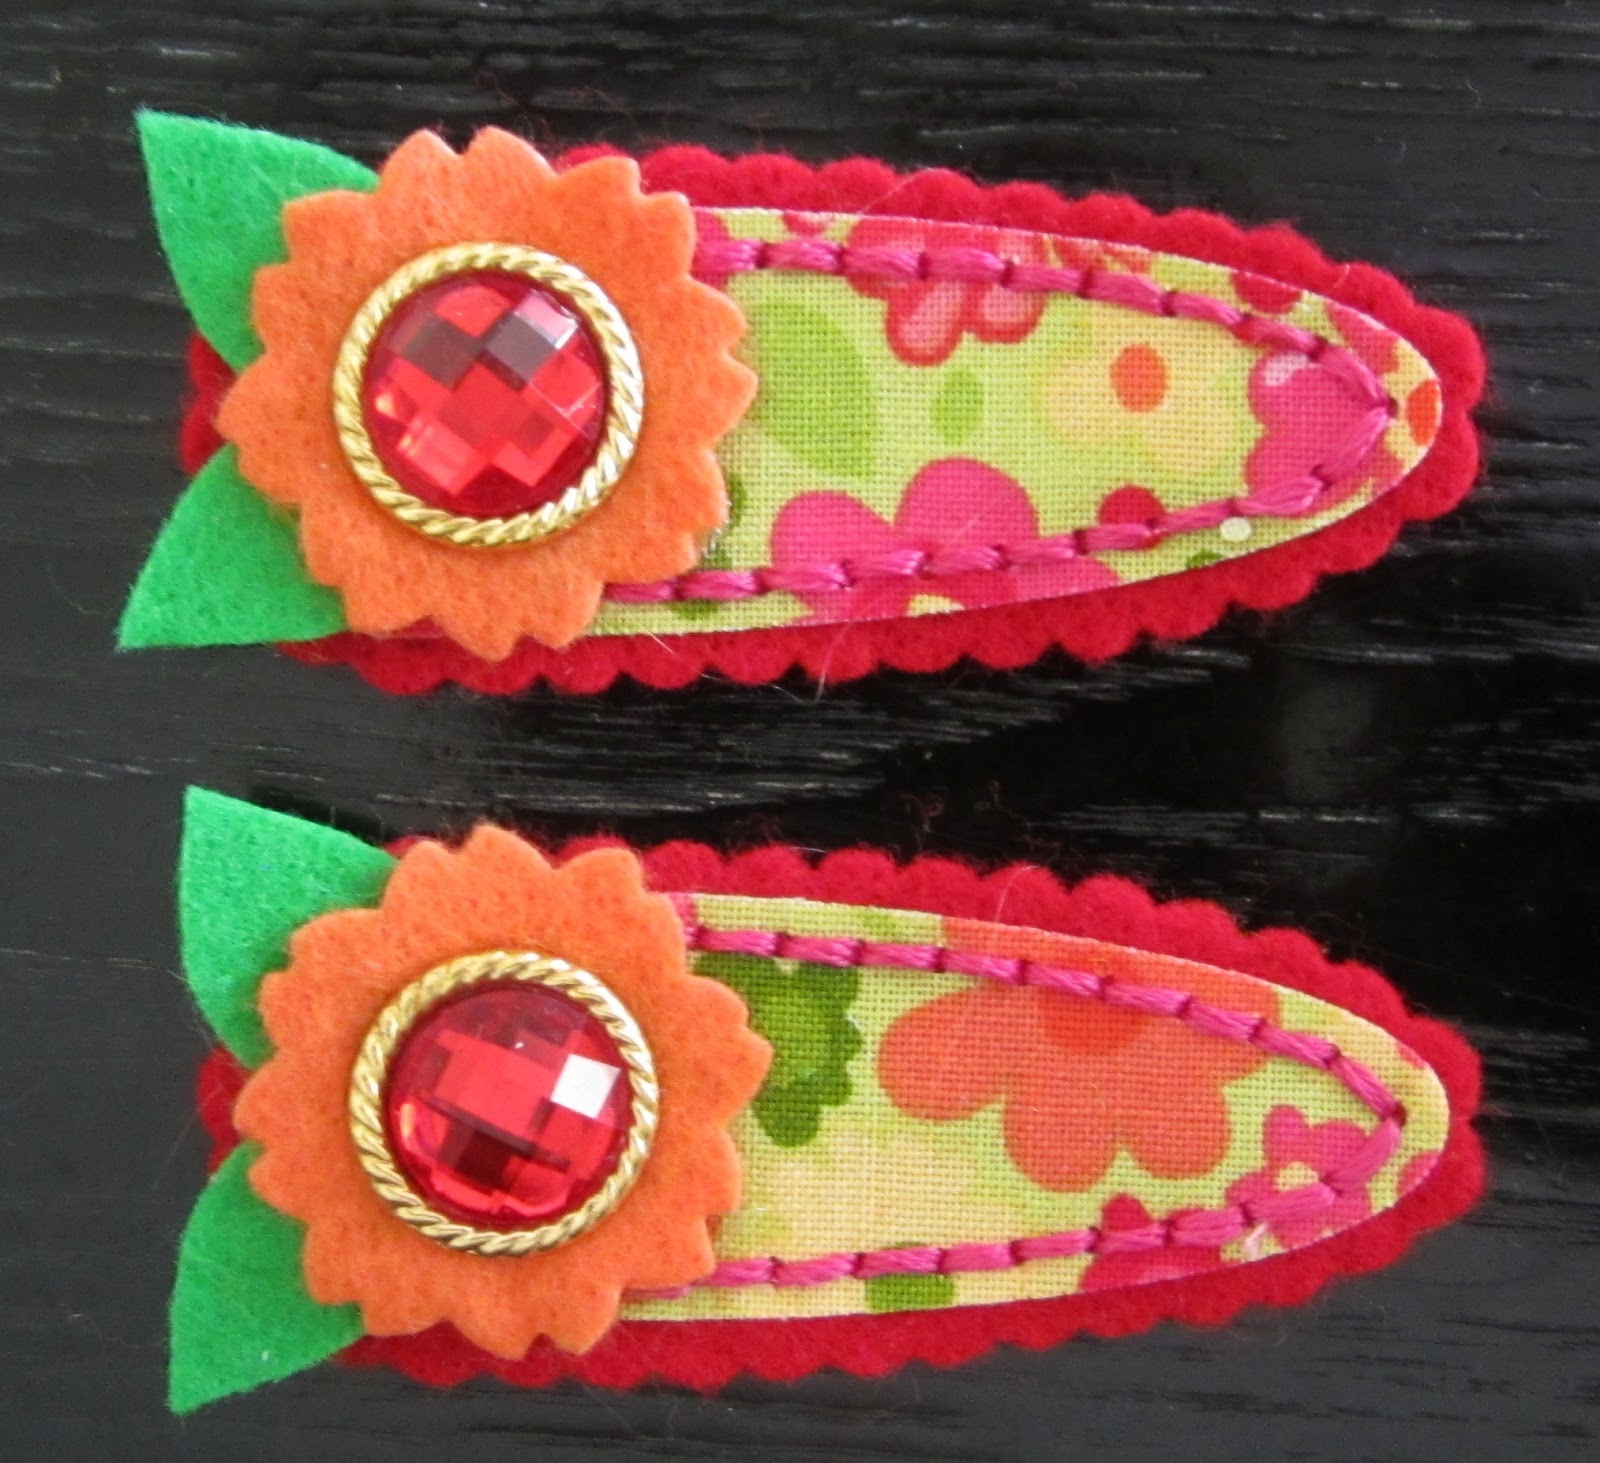
Here's one close-up

Here's another close-up

The boxes were probably intended for pencils but my nieces are into hair accessories so I filled them up with all sorts of hair goodies!

It's been a fun release and all of the mermaid stamps will be available tomorrow! If you're not sure where to purchase them, be sure to check out the Sister Stamps blog for retail locations.

A shout out to guest designer Mimi and her wonderful creations. Be sure to check out her blog here!

Thanks for stopping by!

Thursday, May 30, 2013

Sister Stamps Release #14 - Eliana

Welcome to day 2 of Sister Stamps release!  Today's feature mermaid is Eliana and what a sweetie she is!  I don't know if you saw my shaker cards in a prior release here, but as I was making them, I thought  the same idea of the acetate and washi tape would make a good pocket for a photo. I put my photo pocket on a wood piece but you could put it on a card, box or whatever you want. I used a photo my sister-in-law took of my nieces having fun underwater.  It's such a cool shot and and if you're wondering what kind of camera she used it's an underwater digital camera called Panasonic Lumix TS20.

To create this frame, I painted a piece of wood I got for pennies at a red tag sale. I painted it with Martha Stewart's pearl acrylic paint (color Tiger Lily) and it has a wonderful pearl shimmer to it. Then I adhered some Pebbles striped DP to the wood using Decoupage glue.

To create the frame pocket, I cut acetate and white cardstock slightly larger than my photo.  I put washi tape along the top of the acetate only first.  Then I adhered the bottom and sides of the acetate and cardstock together with washi tape.  The top is left open so your photo can slide in and out (and is changeable). Now some washi tape are more transparent than others so you need to experiment.  I found when I used some of the more transparent tapes on the acetate alone (top) it created a different look from the sides and bottom (which are adhered to the cardstock)

I colored up Eliana using another brilliant technique by Amy Young and you can see her tutorial here. I used Magic Mesh to look like netting behind Eliana. This stuff is great because it comes with a tacky backing which is sticky enough to be adhered but still allows for repositioning. I finished the frame by adding some alphabet beads, "seaweed," shells and bling to look like bubbles....FUN, FUN, FUN!

Thanks for stopping by and check out what Mimi has in store for you here and also Sister Stamps here!

Hope to see you again tomorrow!

Wednesday, May 29, 2013

Sister Stamps Release #14 - Aurora

Hi Everyone!  So excited about this new Sister Stamps release from the sea!  On June 1 new mermaids will be available and can come to life with your imagination and creativity.  I will have 3 projects to share over the next few days and here's my first one.

I don't know about you, but every year I buy those tear away calendars around July with the good intention of making gifts for the holidays.  And every year, I usually don't make anything or I don't use up my entire stash of calendars. And because they're timely and expire, they go to waste.  One day I found my "once again not used" calendars and came up with an idea for a card.  I tore off the June sheet and decided to make a personalized card for a friend.  I highlighted her birthday by stamping around the 11 with a heart stamp. I backed the calendar with white cardstock to give it some sturdiness since the tear away sheet is pretty thin. Then I taped some Baker's Twine to the back and put a brad through the blue cardstock to make it look like it's hanging.  If you don't have these calendars, you could use any digital or sticker type calendar.

The first mermaid I'm featuring is Aurora! I loved coloring her up because anything goes when it comes to colors (like green hair) with these mermaids.  I used Amy Young's coloring technique for her tail and you, too can learn how here.

Thanks for stopping by and be sure to check out guest designer Mimi's blog here as well as Sister Stamps official blog here.

I'll be back tomorrow with more!

Supplies:
Stamps: Sister Stamps Aurora, Hero Arts Oceans of Joy
DP: Pebbles Under the Sea
Copics, Calendar, Sequins

Tuesday, May 28, 2013

School's Out!

I can't believe another school year has passed and come to an end. I put together individualized gifts for the various teachers my son had and here's the card I came up with thanks to the new Lawn Fawn "A Good Apple" stamp set.
These are the simple gifts I put together for the kids in class.  I found a free printable online HERE and packaged it up with some juice and fruit snacks. Simple and fast!

Heellllloooooo summer!

Be sure to come back tomorrow for the beginning of another Sister Stamps release!

Tuesday, May 21, 2013

Graduation

It's crazytown at our house this week! It's the last week of school and this year it means my son is graduating from preschool.  I'm juggling household stuff, putting together teacher gifts, making graduation gifts and making leis.  On top of that, I'm trying to confirm summer plans while my husband has to entertain someone from the mainland all week!  Deep breath, deep breath!

I put together goodie bags for the preschoolers graduating. I always start these kinds of projects and don't think I need to put a lot of effort into them because the kids just rip into them.  But in the end, I always spend a good amount of time for my own peace of mind.  If you look closely, you'll see this photo was taken on the trunk of my car.  I was rushing to pack up my car and realized I hadn't taken a photo in the house!

My 4-year-old son is REALLY into the alphabet now so I decided to make him an "abc" lei for graduation. He already has a bunch of alphabet magnets so I bought a Scrabble game and used the alphabet tiles for this lei. I had no idea Scrabble was so expensive. The Deluxe Scrabble was almost $40! I guess I'll be teaching him how to play this summer!

Have a great week!

Wednesday, May 15, 2013

Making Chalkboard

There's a lot of chalkboard craze out there so I gave creating the look a try.  I have to say it was fun and  a little addicting, too!  The stamps are from Hero Arts and papers from October Afternoon.

Thursday, May 2, 2013

A Rainbow of Barrettes

I needed to make a few sets of barrettes and here's what I created. I used PTI's dies and just love them!  The dies punch out the holes for stitching which make it pretty easy to assemble.  I used various fabric backed with Heat Bond and a variety of felt. Embellishing each clip with buttons, brads and felt flowers was the most fun.
Here's a close-up of one of my favorites
Here's another close-up

I don't even have a daughter but I LOVE making these. I've made them for my nieces and will be making more for all of my son's friends. LOL!


Wednesday, May 1, 2013

It's Sister Stamps Release #13 Day!

Get your new Sister Stamps today!  To see the list of retail locations check out the official Sister Stamps blog here!  HAPPY STAMPING!